本文讲述在 Python Flask Web 框架中如何使用 Jinja2 模板引擎渲染html。
模板引擎负责MVC中的V(view,视图)这一部分。Flask默认使用Jinja2模板引擎。
Flask与模板相关的函数有:
- flask.render_template(template_name_or_list, **context) Renders a template from the template folder with the given context.
- flask.render_template_string(source, **context) Renders a template from the given template source string with the given context.
- flask.get_template_attribute(template_name, attribute) Loads a macro (or variable) a template exports. This can be used to invoke a macro from within Python code.
这其中常用的就是前两个函数。
这个实例中使用了模板继承、if判断、for循环。
建立Flask项目
按照以下命令建立Flask项目HelloWorld:
mkdir HelloWorld
mkdir HelloWorld/static
mkdir HelloWorld/templates
touch HelloWorld/server.py
创建并编辑HelloWorld/templates/default.html
内容如下:
<html>
<head>
    <title>
        {% if page_title %}
            {{ page_title }}
        {% endif %}
    </title>
</head>

<body>
    {% block body %}{% endblock %}
</body>
</html>
可以看到,在<head>标签中使用了if判断,如果给模板传递了page_title变量,显示之,否则,不显示。
<body>标签中定义了一个名为body的block,用来被其他模板文件继承。
创建并编辑HelloWorld/templates/user_info.html
内容如下:
{% extends "default.html" %}

{% block body %}
    {% for key in user_info %}

        {{ key }}: {{ user_info[key] }} <br/>

    {% endfor %}
{% endblock %}
变量user_info应该是一个字典,for循环用来循环输出键值对。
编辑HelloWorld/server.py
内容如下:
from flask import Flask, render_template

app = Flask(__name__)


@app.route('/')
def hello_world():
    return 'hello world'


@app.route('/user')
def user():
    user_info = {
        'name': 'letian',
        'email': '123@aa.com',
        'age':0,
        'github': 'https://github.com/letiantian'
    }
    return render_template('user_info.html', page_title='letian\'s info', user_info=user_info)


if __name__ == '__main__':
    app.run(port=5000, debug=True)
render_template()函数的第一个参数指定模板文件,后面的参数是要传递的数据。
运行与测试
运行HelloWorld/server.py:
$ python3 HelloWorld/server.py
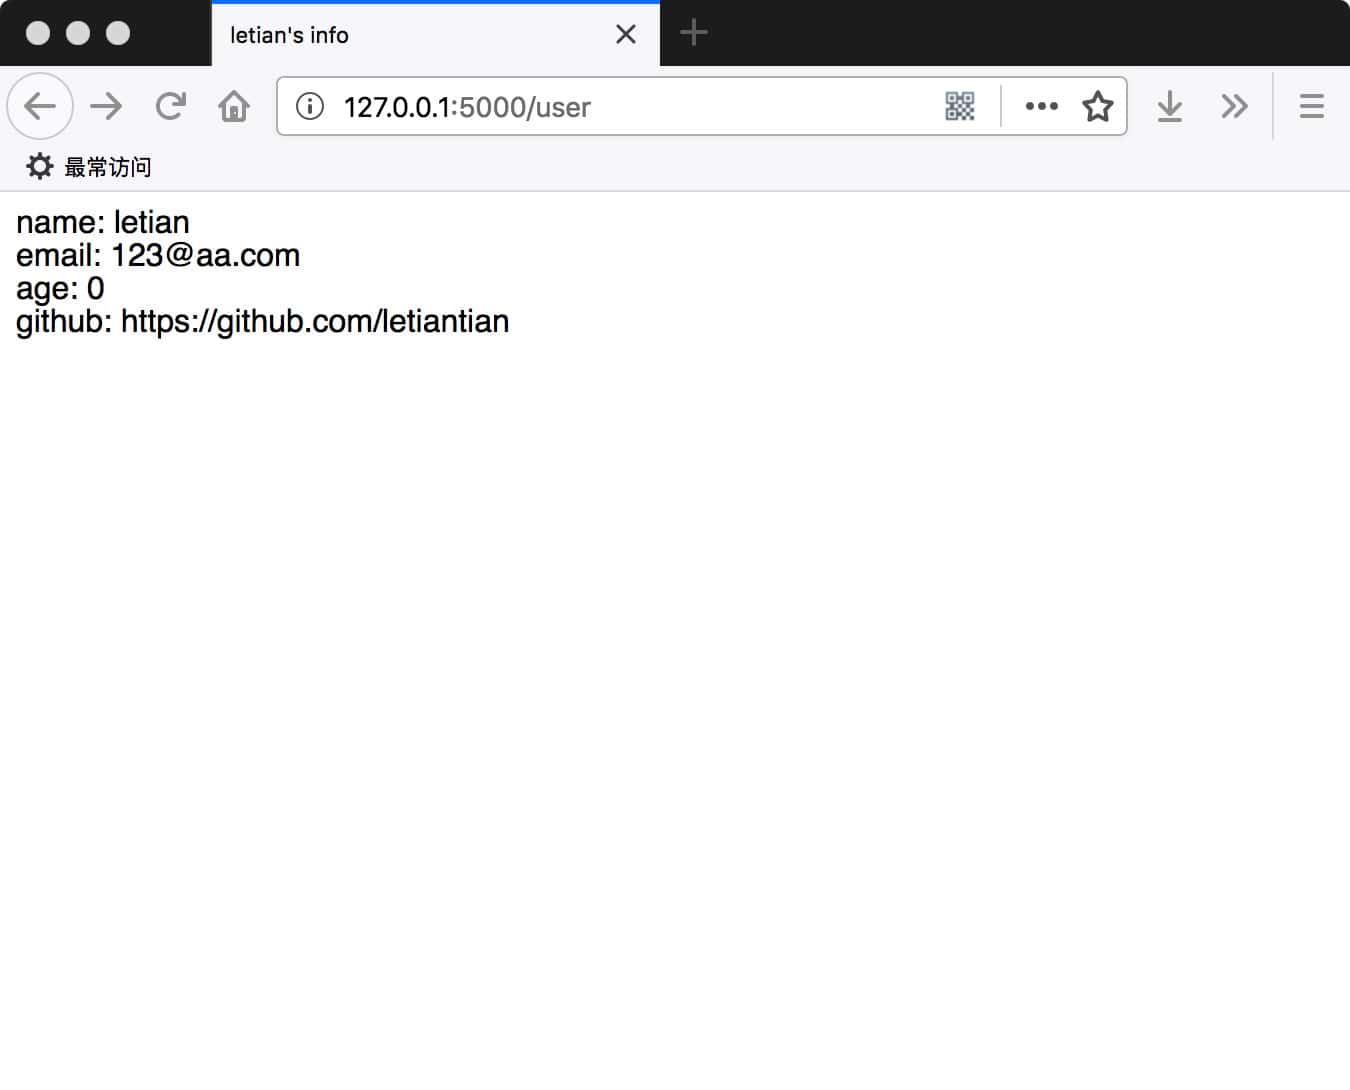
在浏览器中访问http://127.0.0.1:5000/user,效果图如下:

查看网页源码:
<html>
<head>
<title>
letian's info
</title>
</head>
<body>
name: letian <br/>
email: 123@aa.com <br/>
age: 0 <br/>
github: https://github.com/letiantian <br/>
</body>
</html>